|
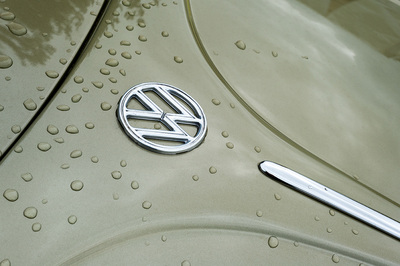
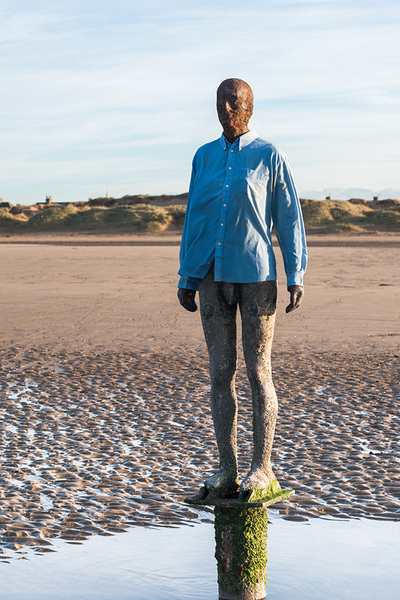
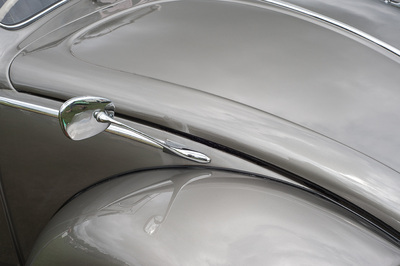
...it's been a long old week getting stuff prepared and upped to Image libraries. One of the reasons I upgraded my computer system was to take advantage of the 'Visualise Dust Spots' module in Lightroom 5.eek..dirty boy, dirty boy.. no wonder I was getting rejections, my old bins couldn't see some of the chunks hiding in the pixels of my image files but now.. and especially as you can sync the spotting routine in Lightroom, got to be careful with that one though, don't want to have any edges smeared but easily 'undoable' when you go through and check things individually. So hitting 100% on acceptance rates and enjoying looking back through all the images i gave up on that are posted around the gaggle of Hard drives I've got plugged into here. So just done a smattering of some 'odd' Another Place images and now piling through lots of Car images from shows I've done over the years. So all that is being done is a Lens correct and Dust clean in Lightroom a quick whiz over to Photoshop for a polish and off for a life of their own online...now these are a bit like Shredded Wheat, 100% photography with nothing added, straight (well almost) out from the camera. I know some of you may think I just take Photos to faff and tickle about with but underlying all that is the Image Library and Book cover stuff I do, a lot of it based on in-camera technique and a reliance on a good eye..of which, after all this computer based tickling, I have just one left.
0 Comments
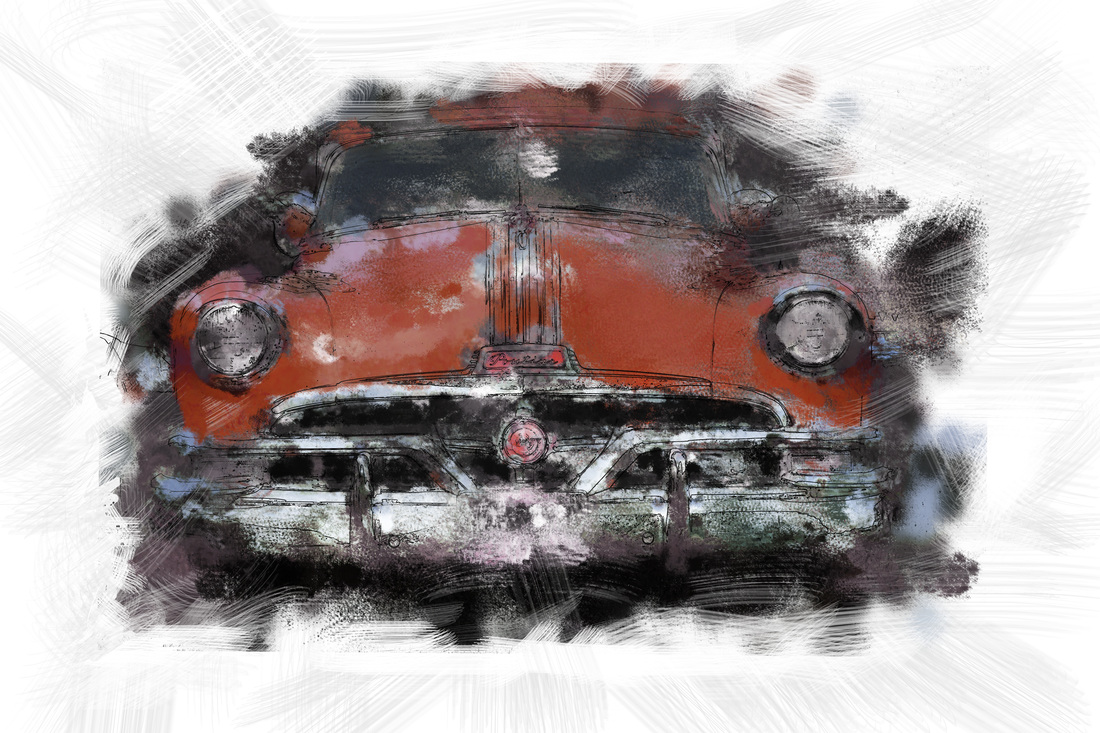
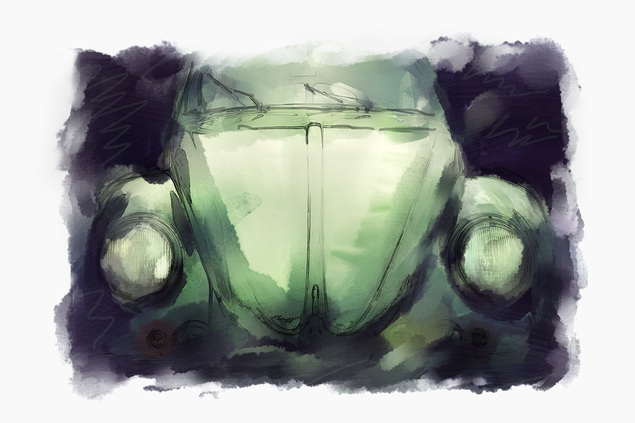
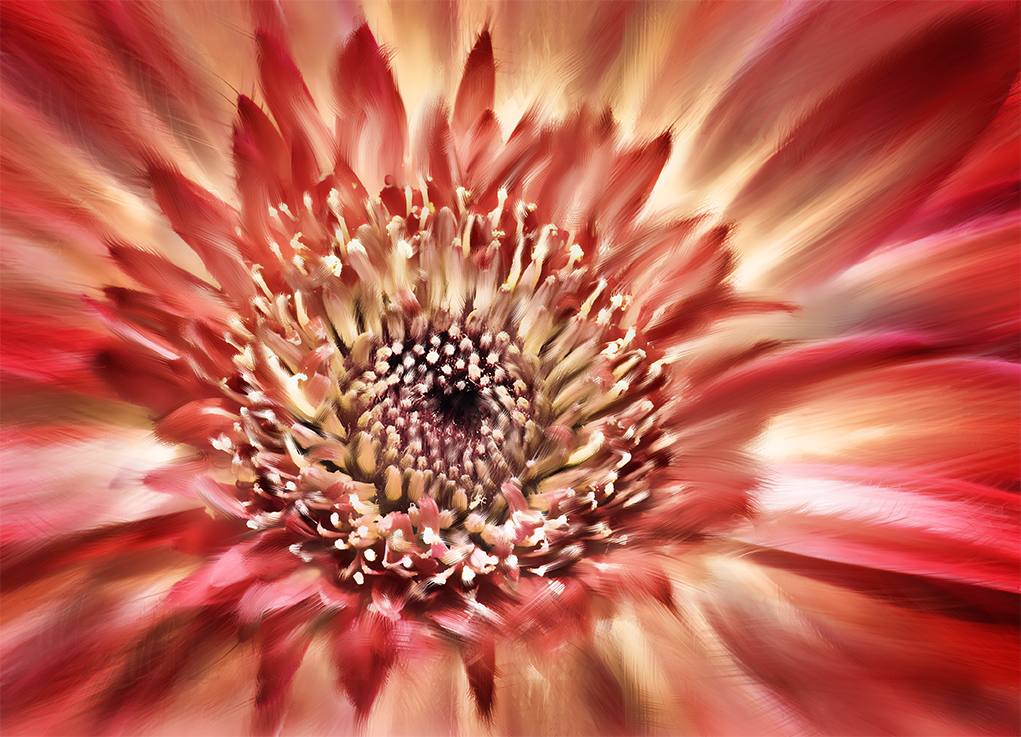
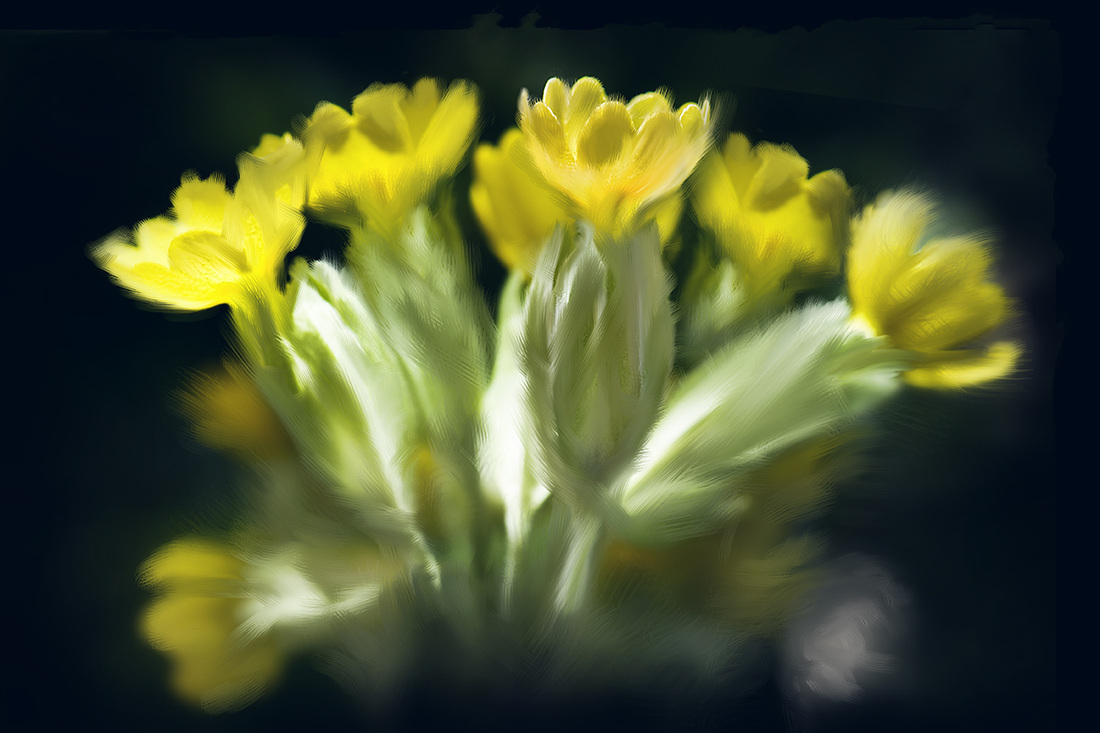
With mornings taken up with tidying up and uploading Stock library images I'm giving myself the afternoons to have a rummage around in all this brush based/digital painting ..like a voyage of discovery but with a broken compass..as ever I think I'm going to have to write down lots of notes as I'm doing my usual thing of blundering into it with a rough idea of what might happen but also by sticking a wet finger in the air to gauge which way the wind might be blowing, so a bit of chucking the kitchen sink at some things, although I'm doing it on a multi layered basis so I can just ditch a layer in the bin rather than try a stack of multi undoes or run up a mountain of snapshots in history...keen eyed ones amongst you will have probably noticed that that was close to being Photoshop bollock speak..for that, as always. I apologies. So at the moment I've got my head around the Mixing brush, defining patters and using the pattern clone stamp and using a novel technique with the art history brush and as you can see from the smorgasbord of painting techniques above, slapping different techniques together and seeing what happens.. still a long way off from what I can 'see' or, and for this I apologies once more...'pre-visualise'...sheesh... but loading up with a haversack of new techniques that all this new gear is letting me, if not master, well at least have a try at and in many ways that is how I've approached a lot of my image manipulation work..yep..that's just giving it a try, no barriers..sometimes it's the only way to discover the way you want to see things.
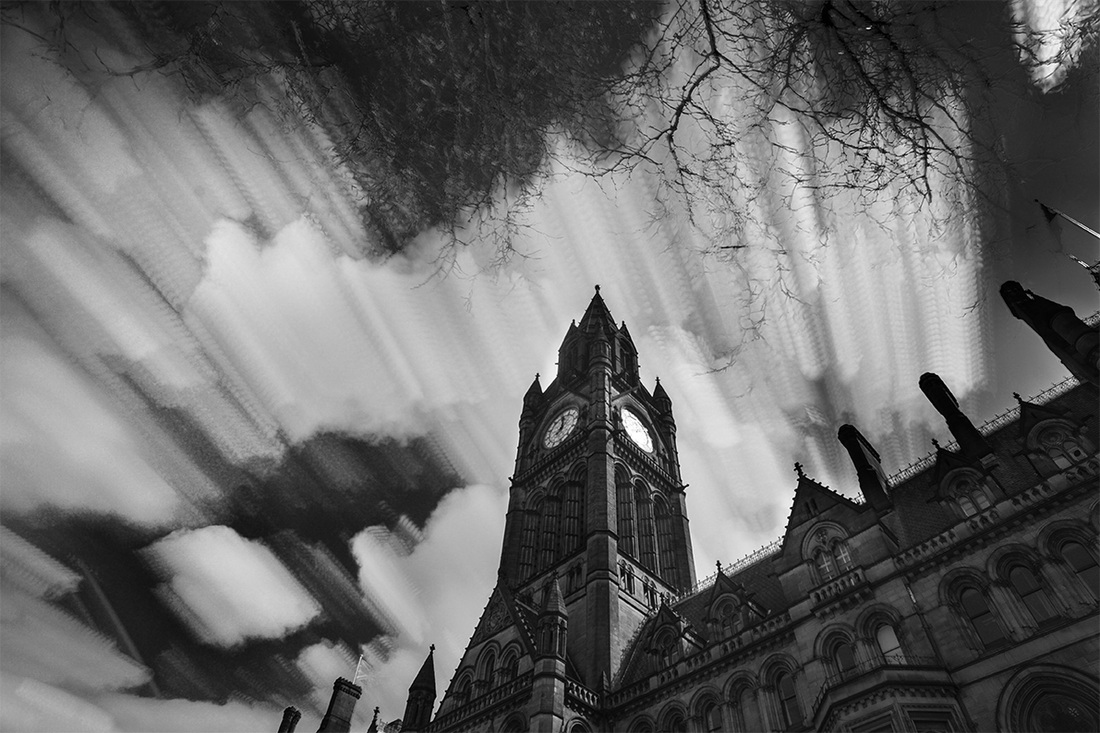
Seem to have won some paper from Permajet...and I'm not sure why but as it's my paper of choice I'll keep an eye out for Postie. Thi image is now available as a card from Redbubble. As a way to break all this 'Painting' spell here is something a bit different that you might want to try. This is Time stacking and , as I can't find out where I've placed my screen capture software, I'll give you a quick run through of the technique.
Tripod, you'll need it, scudding cloudy day, brains switched on, some image processing software that has layers in it. So the aim is to take a run of images, layer them up in a programme like Photoshop change the blend mode of the layer stack bar the background layer, lay back light a cigarette and bask in your new found creativity. So, and this is a rough guide because you'll be looking at clouds that will either be whizzing along or gently rolling across the sky, so you may be taking a continuos run of exposures or one every 5 seconds or so, now I'd go for at least 40 exposures to start with and, because this is going to be a big stack of files when opened, I'd set your image quality in the camera to small jpegs, okay shooting over....but....I shot these with a ND110 filter as well, that's just me ... but maybe you'd be better served just doing it 'straight' to start with. Now this is where my way of processing may vary from yours but the idea behind this is to get a stack of images into Photoshop as layers, let the softwre do all the work, so image files uploaded into Lightroom, lens corrections and all you shadow hightlight stuff can be done in one go if you sync all the images as well...now if you right click then a dialogue box pops up, at the top will be Edit-edit in Photoshop and if you scan down the list then there is the option to open images as layers..it's there , take a look, saves so much time so click it , put the kettle on and your images should open up in Photoshop as a layer stack..nice...now click on the top layer and then hold down the shift key and click on the layer just above the background layer...yep, this really is one step away from gobbledygook...now go up to the top and there will be a drop down blending menu that should , at the moment, say normal....time for some magic...change it to lighten....kerching..flatten it..have a swig of tea and remember me in your will Being the regular reader of all this you may already know that I may be playing all the right notes, but not necessarily in the right order so give it a go, take more exposures, try it with a smoking chimney,crashing waves, take more shots...use an ND filter and drag your exposures..or even an Infra Red filter... but get the basics right and have some fun with it..okay. TFI Friday everyone. PS..you do all the Lightroom stuff in camera RAW if you have it...okay. Into it now and using a combination of wacom and mouse to ease myself into this brave new world of tablet based work. So...the quickest way to learn was to go to the Wacom site and also Lynda.com and have a bit of Kelbyone thrown in for good measure...still waiting for all the button functions to stick so I have them all written out next to the Intuos Pad..a good old fashioned crib sheet. Well without further ado I have been back and getting stuck into painting in Photoshop CC, the image below was made up of 8 different layers using the mixer brush function and various brush sizes, now I'm not going to do any training videos just yet as I'm still at the bottom of the learning curve but can see how this could develop especially in the portrait field So one more to do tonight and then I'll see what else I can get up to with this new system that I'm working with. I've got the double monitor thing just about set up but first back to the flowers for some more intricate paintwork...and here's one hot off the digitl canvas
The mouse, I've used it since the old days of my Amstrad 1640 that shaked, rattled and rolled it's way through the 80's..it was for an acounting software package that i was running for my business at the time but really it was the machine the kids played Paperboy and Robocop on.....
Now kicking and screaming I am getting to grips with a Wacom Intuos Pro pen pad... I thought it would be straight forward... still kicking and screaming... but getting there.. one of the major areas to get used to is defining the mapping area which really means getting the movement on the touchpad to relate to what's happenng on the screen, now this is where I would say to anyone thinking of getting one of these is to get the small one...seriously, unless you are into tracing images the movement you need across a 24" monitor would be well accomodated by getting the smaller size..I'm in the process of upgrading to a dual 24" monitor system so I have this medium pad so I can work across both of them, I think I'll still be kicking and screaming setting all that up.... but for everyone using a single monitor or like me at the moment, using a 17" laptop,,,small is beautiful... I also hadn't realised that the pad is all ready to accept hand gestures and swiping with any combination of digits to do..well most anything.... i see a learning curve bending away from me... New computer system is at this moment being checked out of Lutterworth and on to a wagon destined for here..I love all this info you now get on deliveries. DPD texted me the other day with a list of options on when and at what time I'd like a parcel delivered and yesterday i got an email telling me that a parcel was on the way and would be delivered on Sunday...nah i thought...and then there was a knock on the door at 8.30 at night... So all this has also meant that I've actually had to get down and dirty with Windows 8.1 and get under it's skin and not ignore it as I have been doing so i hope to have the laptop, desktop and, if I flog a few book covers this quarter a rather nice Nokia 1020 as my pocket snapper and then I'll have an integrated Windows 8.1 system..I know..failure beckons but I can always fall back on google drive as my cross platform sinkhole.... talking of which I need to find and source an app that will aggregate all my cloud based stuff I'm losing track... Back to swiping and griping..until the next time... Simple but effective retouching work in Photoshop. If you havn't used layers and blend modes then try this and there are a few sneaky little tips in here as well. IR72 and ND110 filters polished so off out to the great outdoors for some scenic landscape photography. Looks like it's Photoshop waffle time again and here's one that, if you have Photoshop loaded, you can play along with and create something new from your original file. As ever these are unscripted and if things veer off then all that's included. Things happen, catch the wrong key, click on something you shouldn't well...I think it's all part of learning Photoshop and sometimes those 'accidents' can lead on to a new way of presenting your images. Few notes before we start..shortcuts used are Ctl/J or Cmd/J for a new layer ,Ctl/T or Cmd/T for the transform option, shift and drag, mouse down shft/ctrl/alt/E for a stamped layer copy and probably a few others..okay pin them back it's video time Okay any questions fire them off and I'll sort it, time now for some coffee.
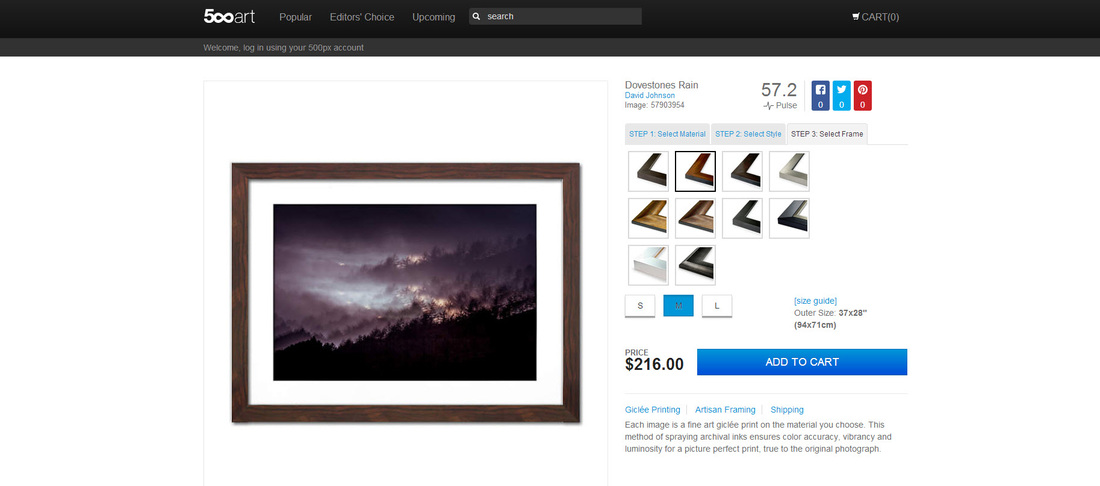
Old dog, new tricks...it dosn't work apparently so as ever I set my jaw square against the twin imposters and threw myself into a dollop of new learning. Problem I have now is that I seem to be replacing my knowledge base with new stuff instead of adding to it.. doh..mind you if you let me loose on Photoshop 4.1 (from the dark ages) I'm sure something would stir and I could muddle through. That said, I quite like finding something new to titivate the visual tastebuds and this week this is what I've been up to. Oh changed from single app Photoshop CC to Pshop CC and LR5 for £8.98 saving 6 quid for more software....hmm.. have a look here So first up the Nik collection of software from Google, it's great, serious addition to LR5 and CC as a programme based filter, I've been delving but mostly I've gone through all the Nik software training and had a play, if you can't/don't like masks or masking then get it...... so new software learnt... and then there's all the analogue, color efx and if you are of that persuasion...Hdr. Click the image below to have a look So if you are that regular reader of this stuff, thankyou btw., you'll have been up to speed with my computer graphics card death and the upgrading of the aforementioned...well I think I've come to a plateau in the upgrade front on this here old Dell and as I am a power crazed despot it's time for an upgrade. So I've gone for a data munching 1Tb 16gb of ram Dual 24" monitors monster..apparently it's called Hal and as I'm called Dave I can see no problems occuring at all.... coming this week...have filled 2 Hds with images from this old girl...who strangely is running like a rocket now all the junk has been deleted or shuffled off to a portable HD.... oh and a new Wacom Intuos Pro...hmmm nice and a couple of samsung 1TB Hds ..well..as I am getting a bit creaky I think this could the last big upgrade before befuddlement overwhelms me. meh... Now have some new filters...shiny new Hoya Infra red R72 and ND110...springtime..I have plans.... watch this space, I think this could look mad... Time spent watching all of Dave Blacks light painting tutorials on Kelbyone....again watch this space or go and see Dave Black's work here I have some ideas..oh yes some mad stuff in my head that will look like nothing else and probably be destined for my 'Marmite' folder. Found out I had this option in my 500px account..so played, actually quite a good way of pre-visaulising what your images look like as framed artworks.. There's other stuff but the sun is out and Daisy one of my Tortoises has emerged, yet again, from her winters slumber so before the Rugby comes on TTFN until the next time lensmiths... Okay weather Gods, very funny, sunny on Saturday and sunny today and a howling gale yesterday with sporadic rain showers... meh, stood there for most of the time clinging on to the Gazebo as it tried to make a bolt for the A6, that's outdoor markets for you and I unleashed on the Heatons my passepartout images...readers of tha last blog post will be up to speed here but it's really a simple way of mounting and framing any subject matter. Now being an old timer of the Picture Framing business, the last known venture I did in this was in the early 80's just before the explosion in Clip frames, first European ones then Chinese ones by the shipload.. So rather than a frame it's all held together by Passepartout tape, a linen based adhesive tape with a grip like death and able to withstand the weight of glass, mount, image and backing board and also not get shredded by the glass edges. I tried out some different format shapes and they look like this.. So you get a pretty natty pick up and go retail item for not a lot of outlay on materials but words of warning. This is VERY FIDDLY if you have 2 left hands chances are you will throw more away than you complete Measurement of everything has to be spot on ..to the millimetre..that's glass, mount and backing board , square rectilinear no wobbles, then there's the high grip tape that is...curse you...stretchy..peel it back to have another try and it all goes out of kilter...grrr happened more than once when I was starting to do it
To Achieve squareness I have a Keencut Ultimat 48" cutter for Mounts and Board A self heal gridded cutting mat so I can lay the glass on and get it spot on square Toyo oil filled glass cutter ..don't get those plastic ones.. oh and over 30 years experience of framing...and i still get the hiccups oh and an almost endless supply of Quirky images to frame.... Now if you want to give this a bash here is the tip of the day...you can get a roll of Black insulating tape for 98p from B&Q...that's what I did as a try out..and it works, althought the corners are a bit duff...here endeth the spiel.... |
What's all this then????An unyeilding torrent of Photo babbel full of unconfirmed facts and manufactured photo drivel.. take from it what you like, it won't change the world but may leave you feeling nauseous... Categories
All
|
- Home
- Latest Work
- Bugle Blog
-
Back History
- 2022 >
- 2021 >
- 2019 >
- Les Fleurs
- By the Sea
- Manchester and the Quays
- Bonnets
- Tours de Bretagne
- Vallee des Saintes 2017
- Maison du Fromage
- Metal Men-Portraits from Another Place.
- Solute
- Shadowland
- Tree Line
- des images fixes
- Out to Sea.
- Victoria Baths
- Scout Moor
- Manchester
- Bord de la Mer
- Stockport Market
- Locqueric Bay
- Metropolitan Cathedral Mono
- Glasgow 2014
- Jeux
- Beetle Juice.
- Manchester Wheel
- New Mono 2016- >
- Galleries 2013 >
- Breton Jardin
- Barr Village
- London 2020
- Old Tractor Portraits.
- Road to the Isles
- Crown of Thorns >
- Chateaux Trevarez



 RSS Feed